
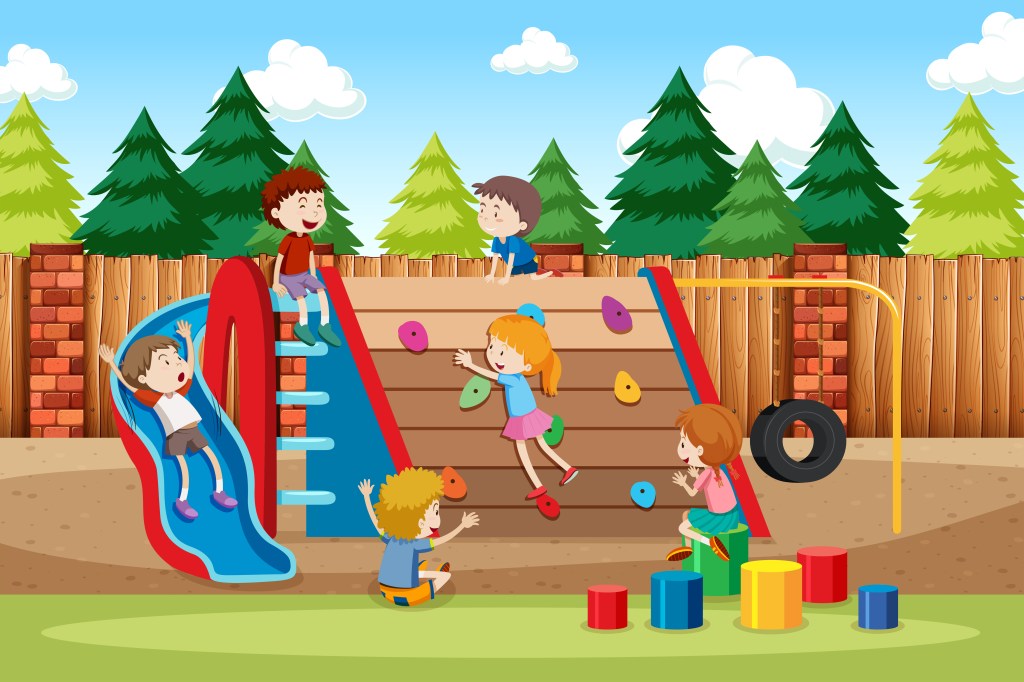
You know that feeling when you look at your backyard and think, “Hmm… this could really use something fun for the kids”? Yeah, we have been there. That is how most DIY play structure ideas start — a little spark that turns into a full-on weekend adventure with sawdust in your hair and that proud “we built this!” moment at the end.
Before you dive in headfirst though, let us talk about the stuff that really matters — the tools and materials you will need to make sure that play structure is safe, sturdy, and doesn’t fall apart the first time someone decides to climb it like Spider-Man.
Start With a Plan (and Maybe Some Snacks)
Okay, first things first — grab a notebook, a pencil, and a snack. Every good DIY project starts with a plan. You do not need to be an architect. Just sketch something simple — where the ladder goes, how tall it should be, maybe even a slide if you are feeling fancy.
Think about your space. How much room do you actually have in the yard? Are you building for toddlers or bigger kids who like to jump off everything? These little details matter because they help you pick the right materials later on.
And trust us… having a plan will save you from those “wait, this beam is too short” moments later.
The Must-Have Tools (and a Few Nice-to-Haves)
Now let us get into the fun stuff — the tools. You do not need an entire workshop, just a few reliable basics.
1. Tape Measure & Carpenter’s Square
Sounds boring, but these are your MVPs. You will be measuring a lot, and keeping those corners square means your playhouse will not end up leaning like the Tower of Pisa.
2. Power Drill
You could use a screwdriver… but unless you enjoy hand cramps and frustration, just use a drill. Keep a few different drill bits handy because you will need to make holes for screws and bolts.
3. Circular Saw or Miter Saw
A clean cut can make or break your project. Literally. If you do not have one, most hardware stores will cut wood for you (huge time-saver).
4. Hammer & Rubber Mallet
For nails, taps, and the occasional “come on, fit already!” moments. The mallet is great for getting things snug without denting the wood.
5. Level
Because a crooked slide is funny… until someone actually slides off sideways.
6. Safety Gear
Please, please do not skip this. Safety glasses, gloves, closed shoes — the works. We once dropped a wrench on a foot… never again.
Picking the Right Materials
This is where you set yourself up for success. You do not want something that looks great for two months and then starts to fall apart.
Pressure-Treated Lumber:
This type of wood holds up against rain, bugs, and rot. Cedar and redwood are great too if you want a more natural look.
Galvanized or Stainless Steel Hardware:
Regular screws and bolts rust fast. Go for galvanized or stainless steel. It costs a bit more but lasts for years.
Concrete (for posts):
If your play structure has posts going into the ground, concrete is your best friend. Keeps it sturdy and safe.
Play-Grade Accessories:
Think swings, ropes, handles — all the fun parts. Just make sure they are rated for outdoor use and have smooth finishes.
Paints & Sealants:
Once everything is up, seal it with kid-safe paint or outdoor wood finish. Keeps it looking fresh and weatherproof. Bonus points if you let the kids pick the colors (though you might end up with a bright purple slide… just saying).
Some Handy DIY Home Improvement Efficiency Hacks
Over the years, we have picked up a few diy home improvement efficiency hacks that save a lot of time and sanity:
- Pre-cut wood at the hardware store. Saves hours.
- Label screws and bolts before you start. Nothing’s worse than mixing them up mid-project.
- Drill pilot holes before screwing anything in. Keeps the wood from splitting.
- Check stability as you go. Do a quick shake test every few steps.
- Work in pairs. Trying to hold a beam with one hand and drill with the other is… well, let us just say, not ideal.
These little hacks make building your DIY play structure feel a lot less chaotic.
Add Some Personal Touches
Here is the fun part. Once the main structure is up, add your own twist. Maybe a pirate flag, a mini climbing wall, or a little mailbox. We once added a chalkboard to one side so the kids could “draw their kingdom” (and yes, it was mostly stick figures and doodles, but they loved it).
If you have leftover wood, make a small bench or sandbox nearby. It turns the area into a complete play zone — and gives you a spot to sit with a cup of coffee while the kids burn off their energy.
A Little Real Talk Before You Start
Building a DIY play structure takes time, patience, and a few deep breaths. You will probably mess up a measurement or two. A board might split. The drill battery might die at the worst possible moment. It happens.
But when you step back and see the finished thing — that sturdy little fort or swing set — it feels incredible. Every screw and splinter suddenly feels worth it.
We promise, once it is done, the sound of the kids laughing and playing on something you built hits differently.
So grab your tools, roll up your sleeves, and get to it. Your backyard is about to become the best playground on the block.


Leave a comment