
Log homes have a certain pull to them. You step inside and it just feels different. Warmer, quieter, a bit more connected to the outdoors. But anyone who owns one long enough eventually runs into the same problem—wood rot. It creeps in slowly, sometimes where you least expect it.
And here’s the thing. Repairing log homes isn’t always straightforward. I’ve seen plenty of well-meaning homeowners dive into a project thinking they’ll fix a soft log or two over a weekend. Sometimes it works. A lot of times it doesn’t.
When people try to repair log cabin rot, the mistakes usually come from rushing the job or misunderstanding what’s really going on with the wood. Logs aren’t drywall. You can’t just patch over the damage and move on. The repair has to make sense structurally and visually. Otherwise, you’re back to square one in a year or two.
Let’s talk about some of the common mistakes people make when tackling rotten logs. I’ve seen these again and again.
Misjudging the Extent of the Rot
One of the biggest problems? People underestimate the damage.
Rot rarely stops where you think it does. What looks like a small soft patch on the outside might actually run deeper into the log. Sometimes halfway through it. Sometimes more.
Folks tap around the area with a screwdriver, scrape off a little crumbly wood, and figure that’s the end of it. But rot spreads along the grain. Moisture travels. Bugs show up too.
A proper inspection takes patience. You probe the wood. You check nearby logs. You look above and below the damage because water usually comes from somewhere else.
Fixing the visible spot without addressing the real source is basically putting a bandage on a leak. It might look better for a while, sure. But the problem keeps working in the background.
Trying to Patch Instead of Replace When the Damage Is Too Severe
There’s a point where a log simply needs to be replaced or rebuilt. Some people resist that idea. Understandable. Log replacement sounds expensive and intimidating.
So they fill the rot cavity with epoxy or wood filler and call it good.
Now, epoxy products do have their place. They’re useful for smaller repairs. But when half a log has turned into sponge, filler alone isn’t going to cut it.
The structure of a log wall depends on solid wood carrying weight across the length of the log. If that integrity is gone, no patch is going to magically restore it.
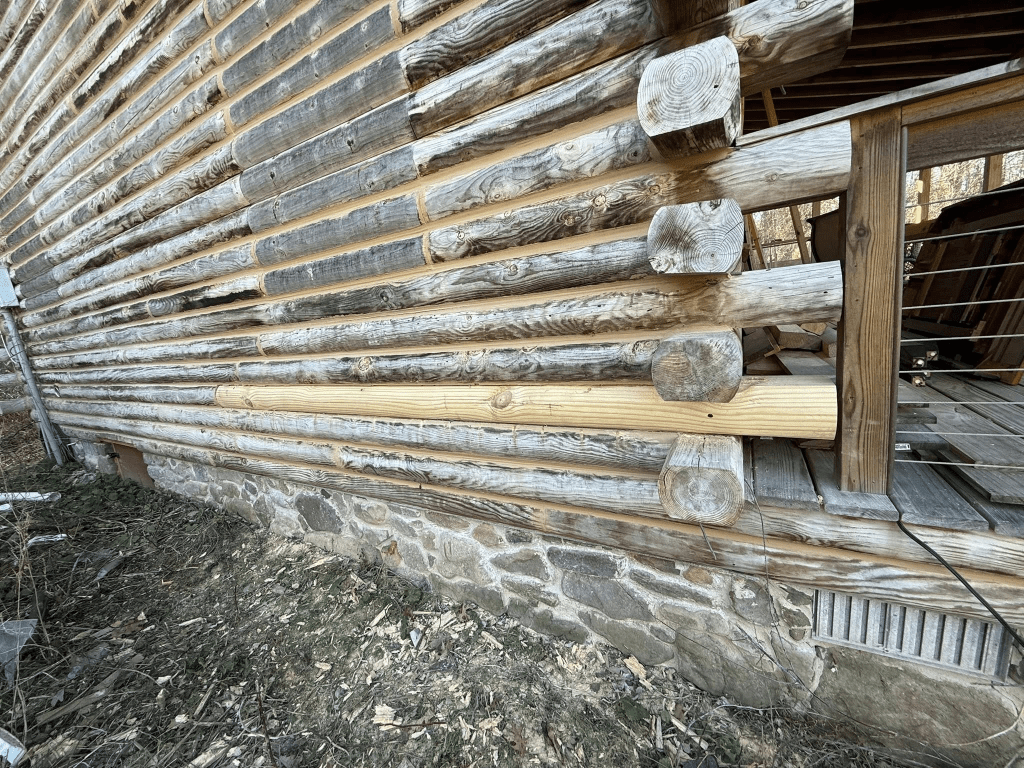
Sometimes you need to cut out the rotten section and splice in a new log piece. Sometimes a full log replacement is the only responsible fix. Not glamorous work, but it holds up.
Ignoring the Moisture Problem That Caused the Rot
Here’s something people miss all the time.
Rot doesn’t just appear out of nowhere.
Water caused it.
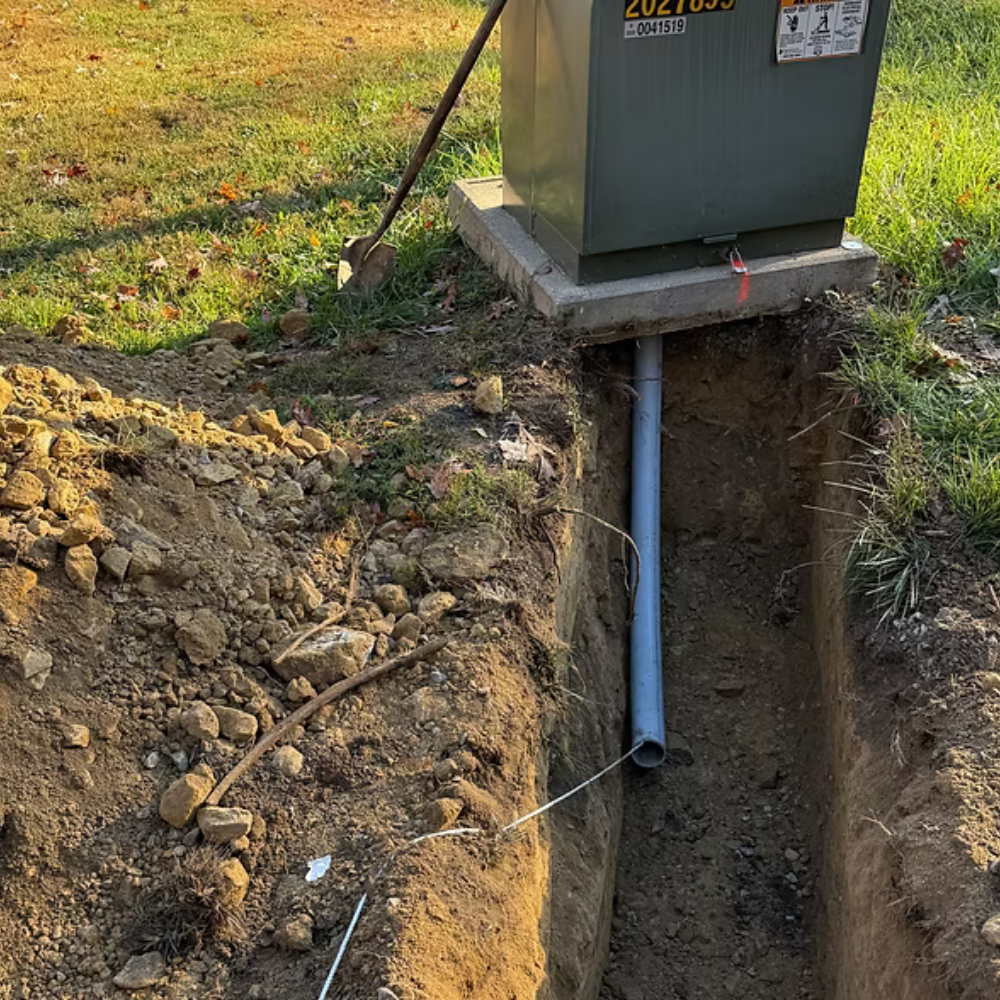
Maybe the roof overhang is too short. Maybe a gutter spills water right against the wall. Sometimes the grade of the soil pushes rainwater toward the logs. I’ve even seen sprinkler systems soaking the same section of wall every day.
If the moisture source isn’t fixed, the rot will come back. Guaranteed.
I’ve seen homeowners repair the same log twice within five years because they never dealt with drainage or roof runoff. The wood wasn’t the real problem. Water management was.
Before repairing anything, figure out how the moisture got there in the first place.
Overlooking the Role of Log Cabin Caulking
This one sneaks up on people.
Logs expand and contract constantly with weather changes. That movement opens small gaps between logs and around joints. When those gaps aren’t sealed properly, moisture finds its way in.
That’s where log cabin caulking becomes important.
Good caulking—sometimes called chinking depending on the system—helps keep water from entering the log structure. It also blocks drafts and pests, which is a nice bonus.
But homeowners sometimes ignore cracked or failing sealant. Or worse, they use generic hardware-store caulk that wasn’t designed for log movement.
Log homes need flexible sealants made specifically for them. Products that stretch when the logs shift and settle.
If the caulking fails, water creeps into the seams. Eventually it reaches the wood and rot begins again. Slow at first. Then not so slow.
Using the Wrong Wood for Log Repairs
Another mistake that happens during repairs is choosing the wrong replacement wood.
It’s tempting to grab whatever lumber is available locally and shape it to fit the damaged section. But different species of wood behave differently. Density, grain pattern, moisture absorption—it all matters.
If the repair piece doesn’t match the original logs reasonably well, problems start showing up later. Uneven weathering. Different expansion rates. Sometimes cracking.
Ideally, replacement pieces should match the original log species as closely as possible. Pine with pine. Cedar with cedar. That kind of thing.
It’s not about perfection. Just compatibility.
Otherwise the repair stands out, both visually and structurally.
Skipping Proper Surface Preparation
This step gets rushed a lot.
Before any repair product or new log section goes in, the damaged wood must be cleaned and stabilized. That means removing all soft rot. Not just most of it. All of it.
If crumbly wood is left behind, the repair material doesn’t bond well. Moisture remains trapped. Decay organisms stay active.
Sometimes a wood hardener is applied to strengthen surrounding fibers. Sometimes the area needs to dry thoroughly before work continues.
Skipping these steps is basically sabotaging the repair from the start.
A clean, solid surface is the foundation of a lasting fix.
Neglecting Protective Finishes After the Repair
After the structural work is finished, many people assume the job is done.
But log homes rely heavily on protective stains and sealers.
UV exposure, rain, snow, and temperature swings constantly attack the wood. Without a good finish, even healthy logs can start breaking down faster than they should.
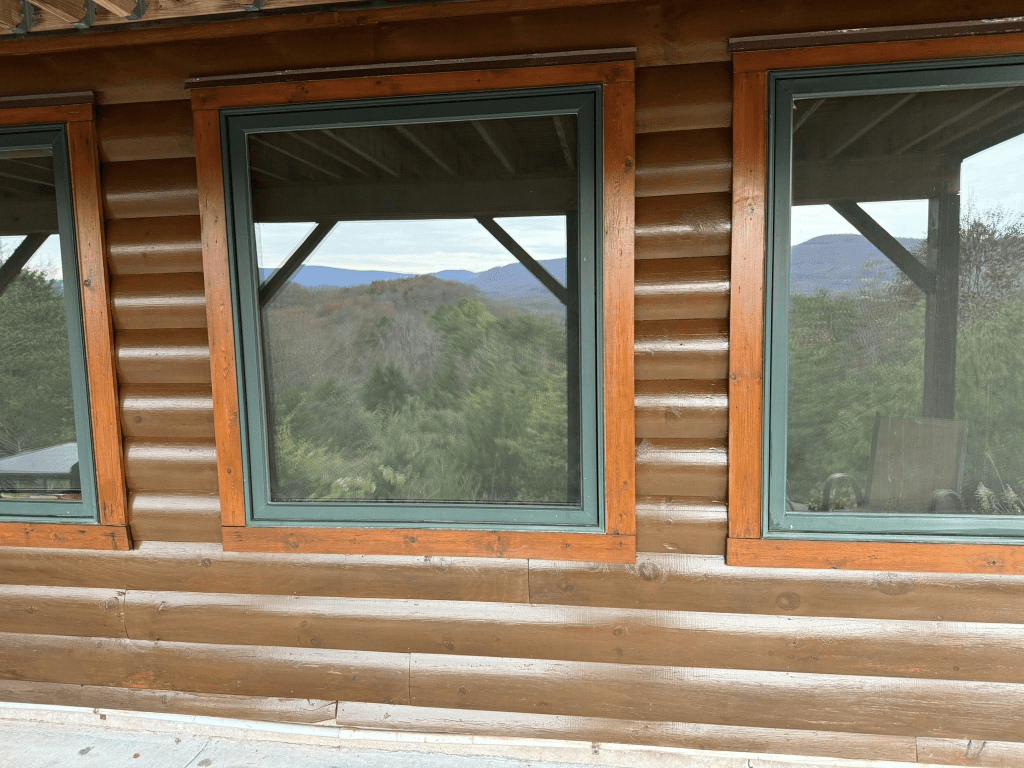
Once a rotten area has been repaired, the surrounding wall should be cleaned, stained, and sealed properly. Sometimes that means blending the repair visually so it doesn’t stick out like a patch on a pair of jeans.
Maintenance coatings every few years make a big difference in how long those repairs last.
Skip that step and you may be doing the same repair again sooner than you’d like.
Rushing the Job Instead of Taking a Step Back
This might be the most common mistake of all. Log home repairs require patience. A little observation. Sometimes a pause to think through the bigger picture. People want quick fixes, especially when they notice damage spreading. But rushing often leads to shortcuts—bad materials, incomplete removal of rot, or poor log cabin caulking. A slower, more thoughtful approach almost always produces better results. Fix the moisture. Evaluate the log structure. Use compatible materials. Seal the joints properly. It takes longer. But it works.
Conclusion
Log homes are durable structures when they’re cared for properly. Some of them last well over a century. But like any wooden structure, they need attention when problems show up.
Rot is one of those problems that can start small and quietly spread if it isn’t handled correctly. Trying to repair log cabin rot without understanding the cause, the structure, or the right repair methods usually leads to frustration.
The good news is most mistakes are avoidable. Take the time to inspect thoroughly. Address moisture sources first. Use appropriate materials. And don’t overlook the importance of sealing gaps with proper log home products.


Leave a comment